Deploying a Sample Ruby/Sinatra App to IBM Bluemix
Deploying applications in Cloud Foundry is easy. It is almost like point and shoot. However, deploying Cloud Foundry in your own data center may prove to be complicated. If you want all the Cloud Foundry perks without the hassle, you can choose to pay for a commercial PaaS based on it. From this series of blog posts, you will learn how to get it started with IBM Bluemix—a Cloud Foundry distribution from IBM—and how to deploy your apps to this platform.
Introduction to IBM Bluemix
Of the many commercial options for deploying your applications in Cloud Foundry, IBM Bluemix is one of the most popular choices. Recently, it has been gaining a lot of traction; it also provides a substantial catalog of valuable services to its customers.
Bluemix runs on SoftLayer, IBM’s IaaS offering, which ensures that you will have enough computing power to do whatever you like without running out of resources.
Nevertheless, all the power in the world means nothing without flexibility. In that area, Bluemix allows you to deploy Java, Node.js, Go, PHP, Python, Ruby with Sinatra, and Ruby on Rails applications out-of-the-box. On top of that, just like with open-source Cloud Foundry, you can create buildpacks to add support for any programming language or framework.
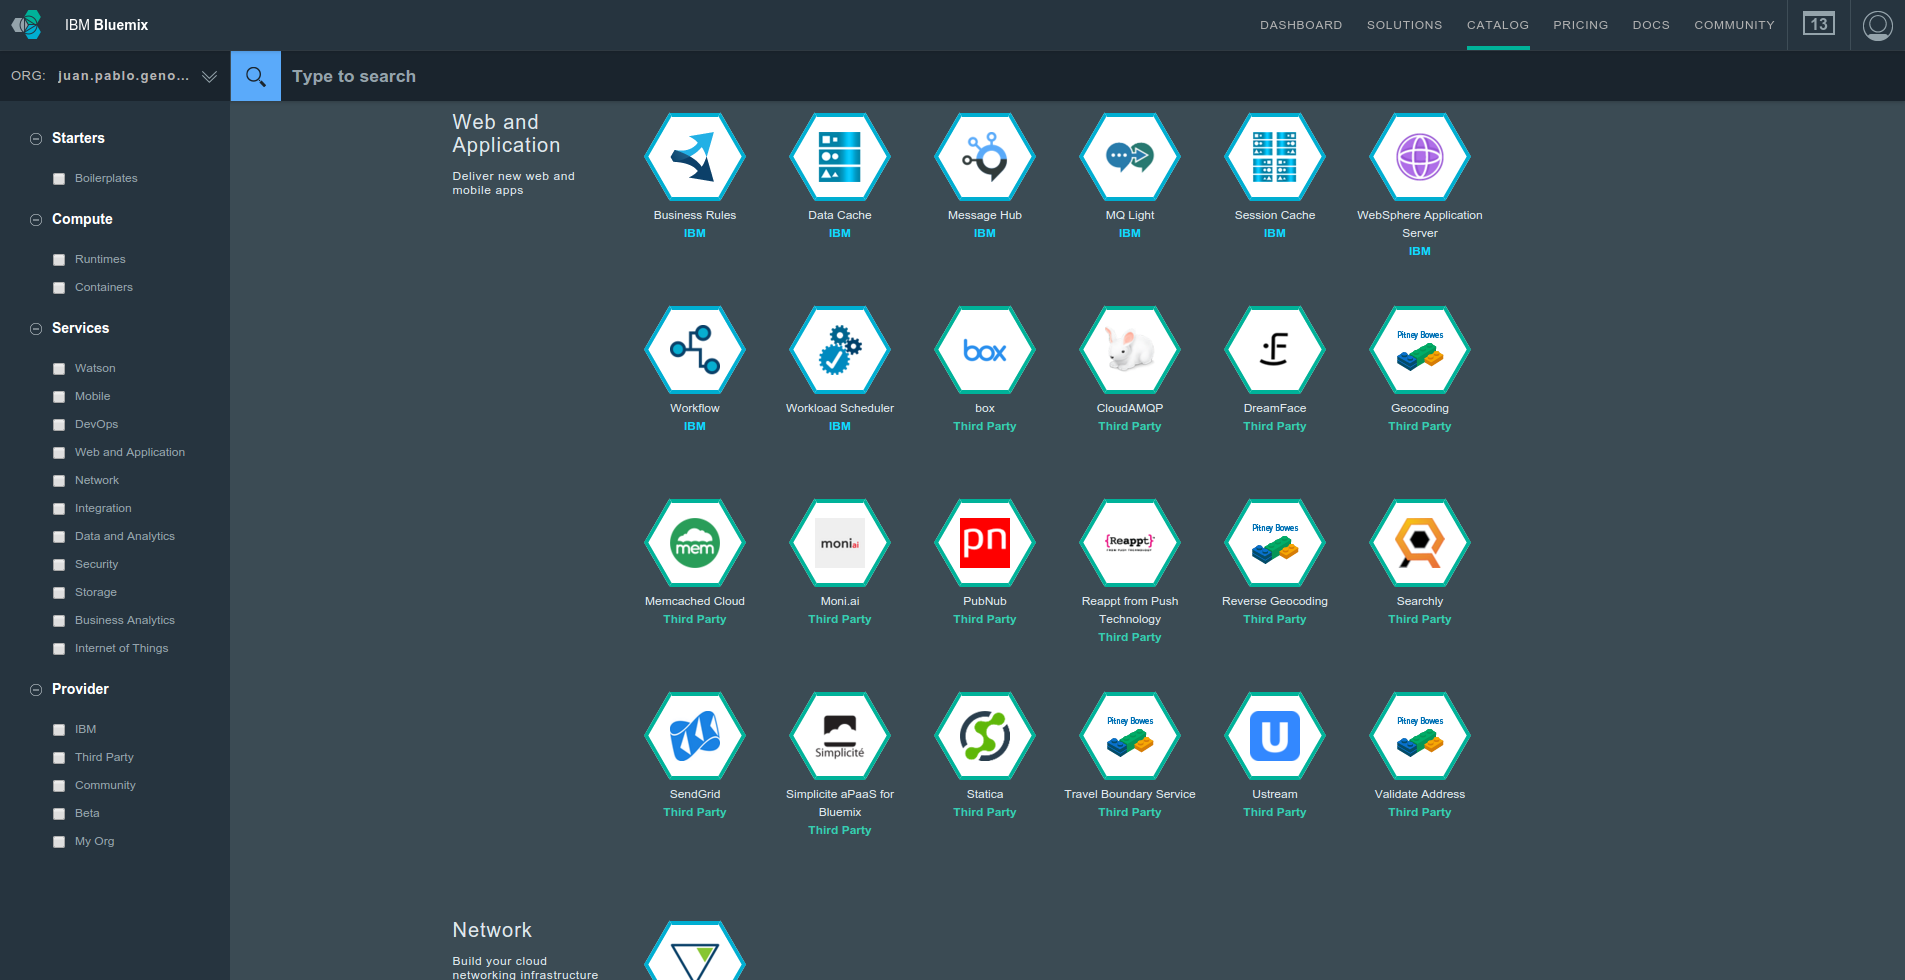
Also, the IBM Bluemix team made sure that you have any service available for your needs. They have an impressive catalog of runtimes, security services, databases, analytics software, network services, and more that you can explore in the Catalog section.
Trying out IBM Bluemix
If you would like to try what it feels like to work with Bluemix, IBM is now offering a 30-day trial which starts when you confirm your account. During your trial, you’ll have access to Bluemix for building apps, 2 GB of runtime and container memory, as well as up to 10 provisioned Bluemix services. A good thing is that this trial is free of charge.
Signing up
The process is pretty much straightforward:
- Go to https://console.bluemix.net/registration/.
- Fill out your data.
- Register and an e-mail will be sent to your specified address.
- Click the confirmation link and then, after you have been redirected, click on the “Log In” link.
- Enter your e-mail and password and you are done!
The console
As soon as you finish the signup process, Bluemix will provide you with a default organization and space, so you may start working immediately.
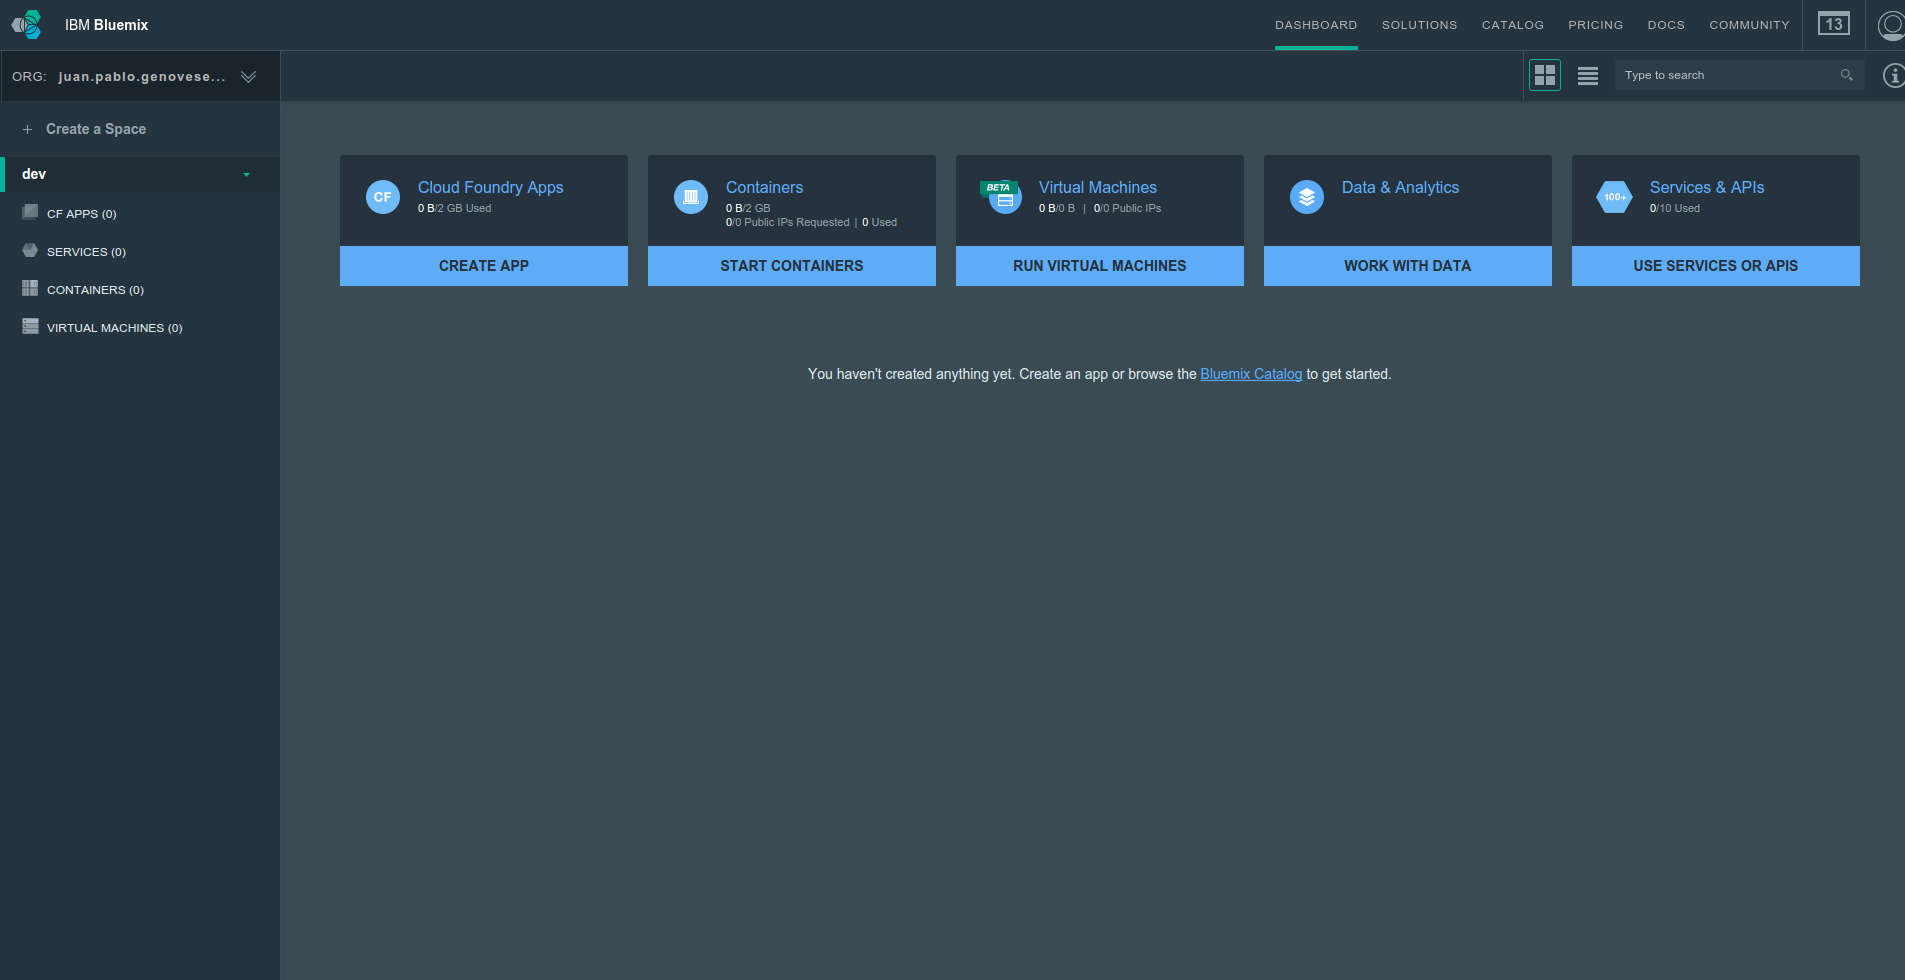
Still, if you want to customize things a little bit and don’t want to type that much into the Cloud Foundry’s CLI, a nice console is there for you.
On the left side, you will find information about your Orgs and Spaces, as well as the applications deployed and resources used. On the right side (or the main panel), there are tiles that will help you to perform different tasks.
You can create spaces, but there is only one organization; it is set to the e-mail that you used for your registration.
Deploying your first application
Try deploying a simple application as a starting point in your Bluemix journey.
- First, you have to login with the CLI by issuing the
cf login -a https://api.ng.bluemix.netcommand: - Once you are logged in, clone the repository with the code:
- Now you can push the application to Bluemix. To do this, you need to choose an application name. Since application names are unique across all applications deployed in Bluemix, you have to pick a unique, exclusive name. As a rule of thumb, if you put your e-mail’s local part (the text before the ‘@’ symbol) as the prefix or the suffix of the application name, there will be no issue with duplicated or taken application names. Or, simply use some weird words you might like!
- Once the push command has finished, you can go to
http://my-first-app-bluemixrocks.mybluemix.net/and see your app live.
$ cf login -a https://api.ng.bluemix.net
API endpoint: https://api.ng.bluemix.net
Email> your@emailPassword>
Authenticating...
OKTargeted org your@emailTargeted space devAPI endpoint: https://api.ng.bluemix.net (API version: 2.40.0)
User: your@email
Org: your@email
Space: dev$ git clone https://github.com/Altoros/cf-example-sinatra.git
Cloning into 'cf-example-sinatra'...
remote: Counting objects: 39, done.
remote: Total 39 (delta 0), reused 0 (delta 0), pack-reused 39
Unpacking objects: 100% (39/39), done.
Checking connectivity... done.$ cd cf-example-sinatra
$ cf push my-first-app-bluemixrocks
What’s next
In the next posts, we will use Bluemix’s capabilities to start building an application from scratch, and, later on, connect that application to a Bluemix service, such as a database.